 texus Addons und Themes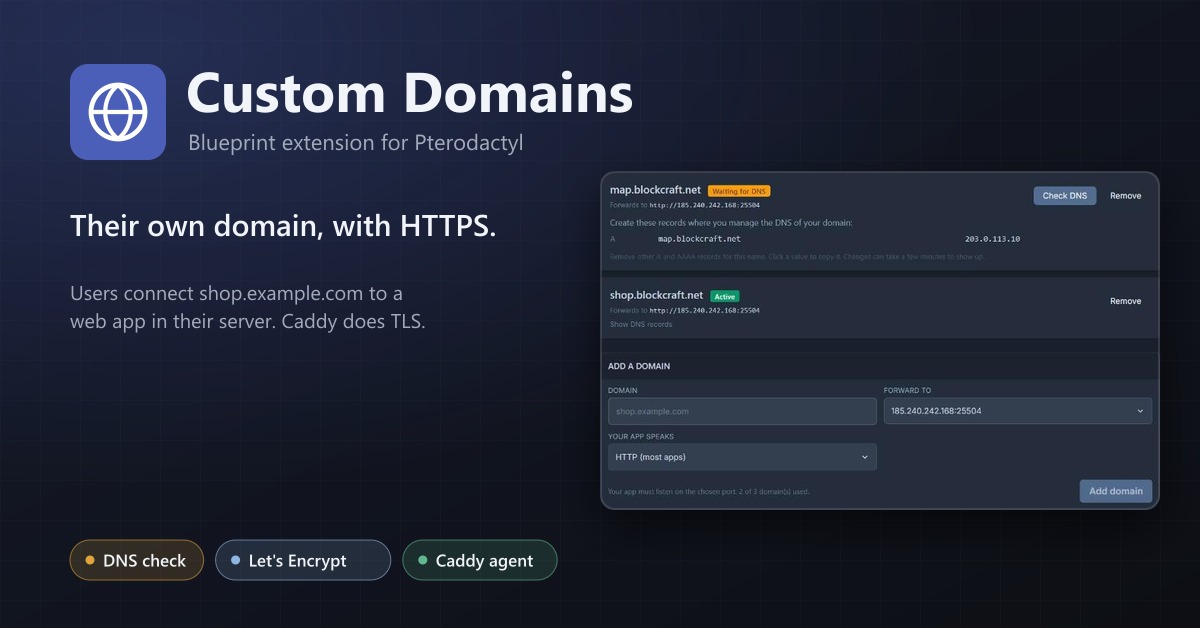
Custom Domains
Let users connect their own domain with HTTPS to a web service in their server, through a Caddy reverse proxy.
9,99 €
- Version 0.1.0, updated 11 October 2026
- For Pterodactyl Panel 1.15.x with Blueprint
- No core files modified, installs and removes with Blueprint
- One licence for one panel, new versions included
Screenshots
Features
Your customers run websites, Node.js apps and bot dashboards on your nodes, and then reach them at 203.0.113.5:8080. Custom Domains lets them connect their own domain, like shop.example.com, with HTTPS, right from the server page.
For your users
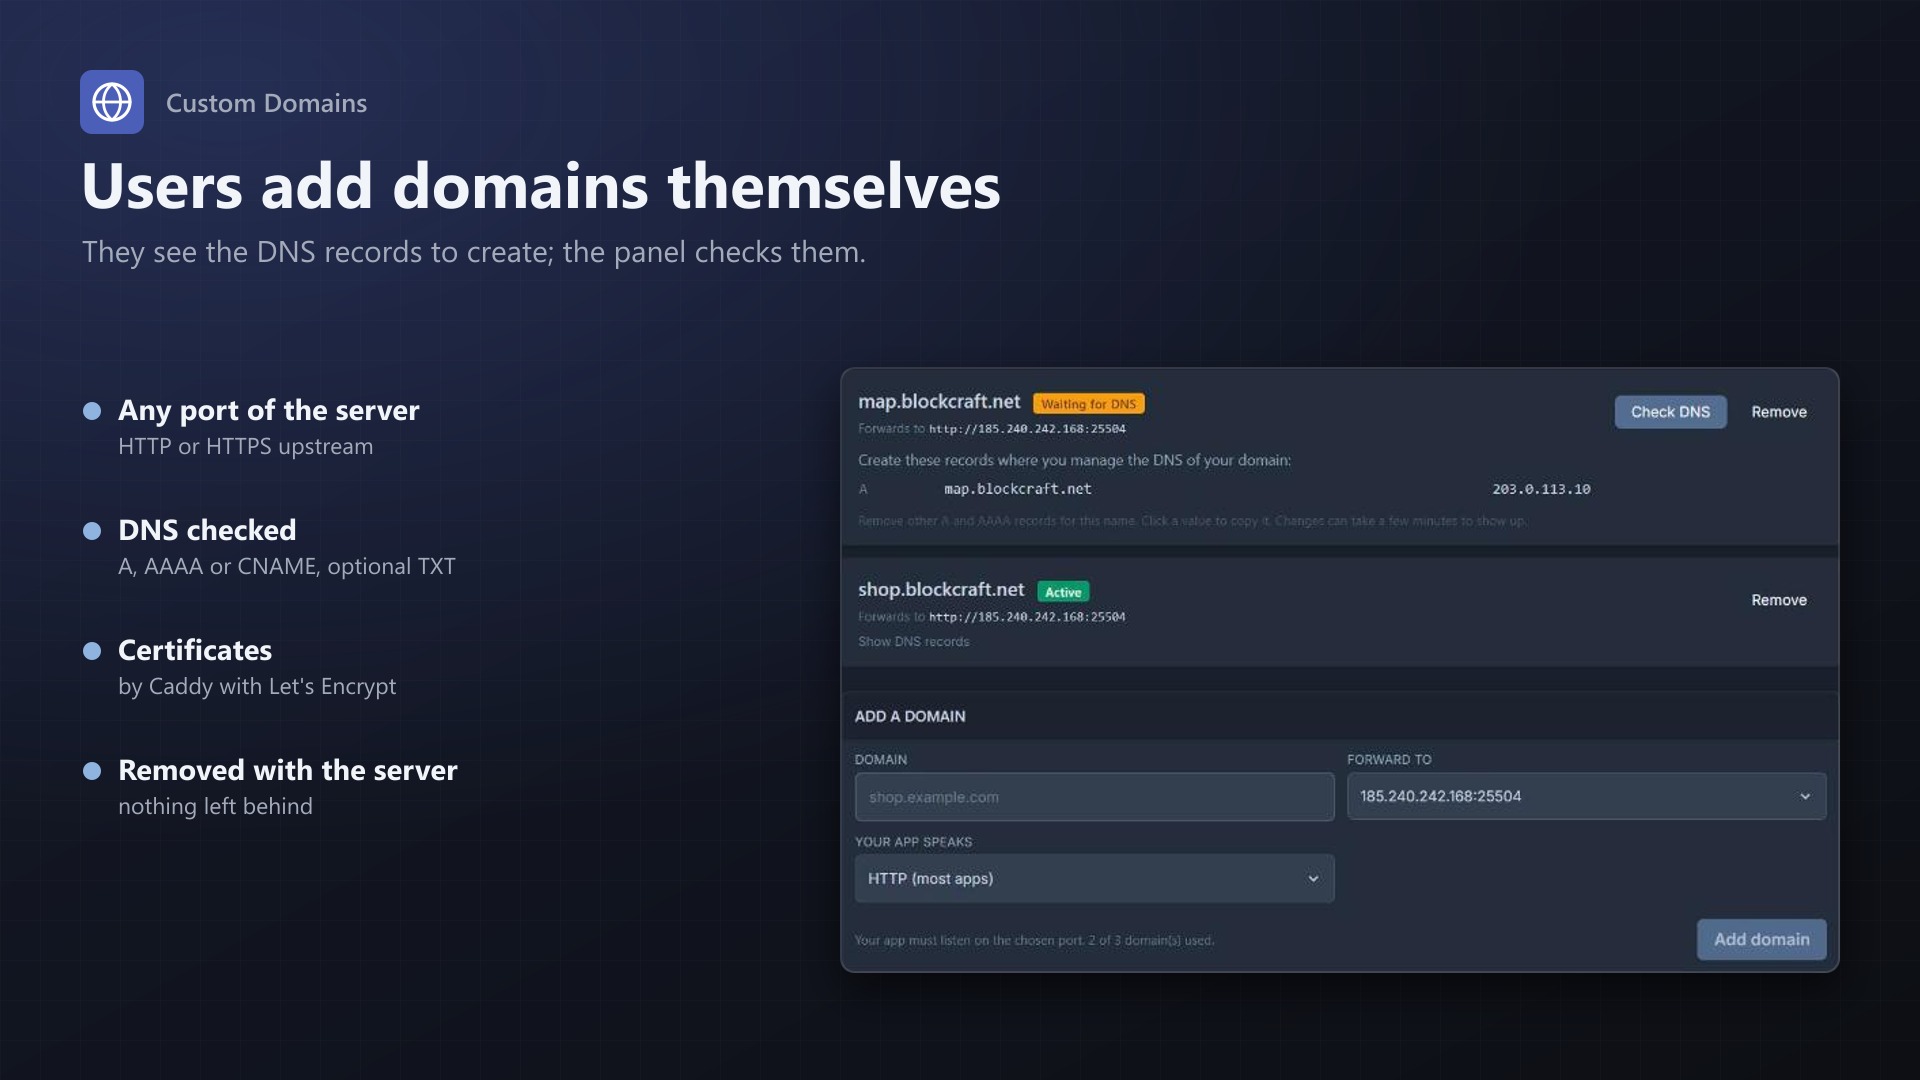
- A Domains page on every server: enter the domain, pick the server's address (IP:port), done
- Shows the exact DNS records to create: A/AAAA to your proxy, or a CNAME to its host name
- Check DNS button that says what is wrong ("points to 1.2.3.4 instead of ...")
- Status per domain: waiting for DNS, starting, active, proxy error
- Works for HTTP and HTTPS apps, WebSockets included
- Adding and removing domains is written to the server's activity log
For you
- Runs on Caddy: certificates from Let's Encrypt are created and renewed automatically
- One or several proxy hosts, each with its own agent token (stored hashed, shown once)
- A small agent script on the proxy host fetches the config every minute, runs
caddy validate, reloads Caddy and reports back; a broken config is never loaded - Install commands on the admin page, ready to paste
- Choose the eggs that may use domains and how many per server
- Optional TXT verification, so users can only connect domains they control
- The panel's own domain is protected; every domain belongs to one server only
- Deleted servers and removed addresses drop out of the config immediately; an hourly job cleans up
- No core files modified
Documentation
A Blueprint extension that lets users connect their own domain, like shop.example.com, to a website or web app running in their Pterodactyl server: a Node.js or Python app, a website, the web panel of a bot. Visitors get HTTPS with a certificate that is created automatically.
How it works
Three parts work together:
 Visitor ──HTTPS──> Proxy host (Caddy) ──HTTP/HTTPS──> Node: server's address, e.g. 10.0.0.5:8080
                         ^
                         │ every minute: fetch the Caddyfile, reload, report
                         │
Pterodactyl panel (this extension)- The panel keeps the list of domains. Users add them on the Domains page of their server, the admin sees all of them under Admin > Extensions > Custom Domains.
- A proxy host is a Linux machine you run with Caddy on ports 80 and 443. Caddy gets the certificates from Let's Encrypt and forwards the requests to the servers. A small agent (a bash script, run by cron every minute) fetches the complete Caddyfile for this proxy host from the panel. When it has changed, the agent checks it with
caddy validate, puts it in place, reloads Caddy and tells the panel whether it worked. The panel never connects to the proxy host; the agent only makes outgoing HTTPS requests to the panel. - The customer's DNS: the user creates an A/AAAA record to the proxy host's IP address, or a CNAME to its host name, at their own DNS provider. The panel shows the exact records.
You can run one proxy host or several (for example one per region). Each one gets its own token and only serves the domains that users connected to it.
For users
On the server's Domains page:
- Enter the domain (
shop.example.com), choose which of the server's addresses (IP:port) it forwards to, and whether the app there speaks HTTP (most apps) or HTTPS. - Create the DNS records shown: an A record (and AAAA, if the proxy has IPv6) to the proxy, or a CNAME to the proxy's host name. If the admin requires it, also a TXT record
_texus-verify.<domain>with the shown value. - Press Check DNS. The panel looks the records up and compares them with the proxy host.
Status of a domain:
- Waiting for DNS (pending): the records are not there yet or point somewhere else. The message says what is wrong. Pending domains are also checked again every hour for two weeks.
- Starting (verified): DNS is right; the proxy picks up the domain within a minute.
- Active: the proxy has loaded a configuration with the domain. Caddy gets the certificate on the first request (or right after the reload), which takes a few seconds.
- Proxy error: the proxy could not load the configuration. The message shows Caddy's error.
Users need the "Allocations: View" permission on the server to see the domains and "Allocations: Update" to add, check and remove them. Owners and admins can always. Adding and removing a domain is written to the server's activity log.
For the admin
Set up a proxy host
Any Debian or Ubuntu machine with a public IP, ports 80 and 443 open, and network access to the nodes on the servers' ports.
- Install Caddy from its package repository (
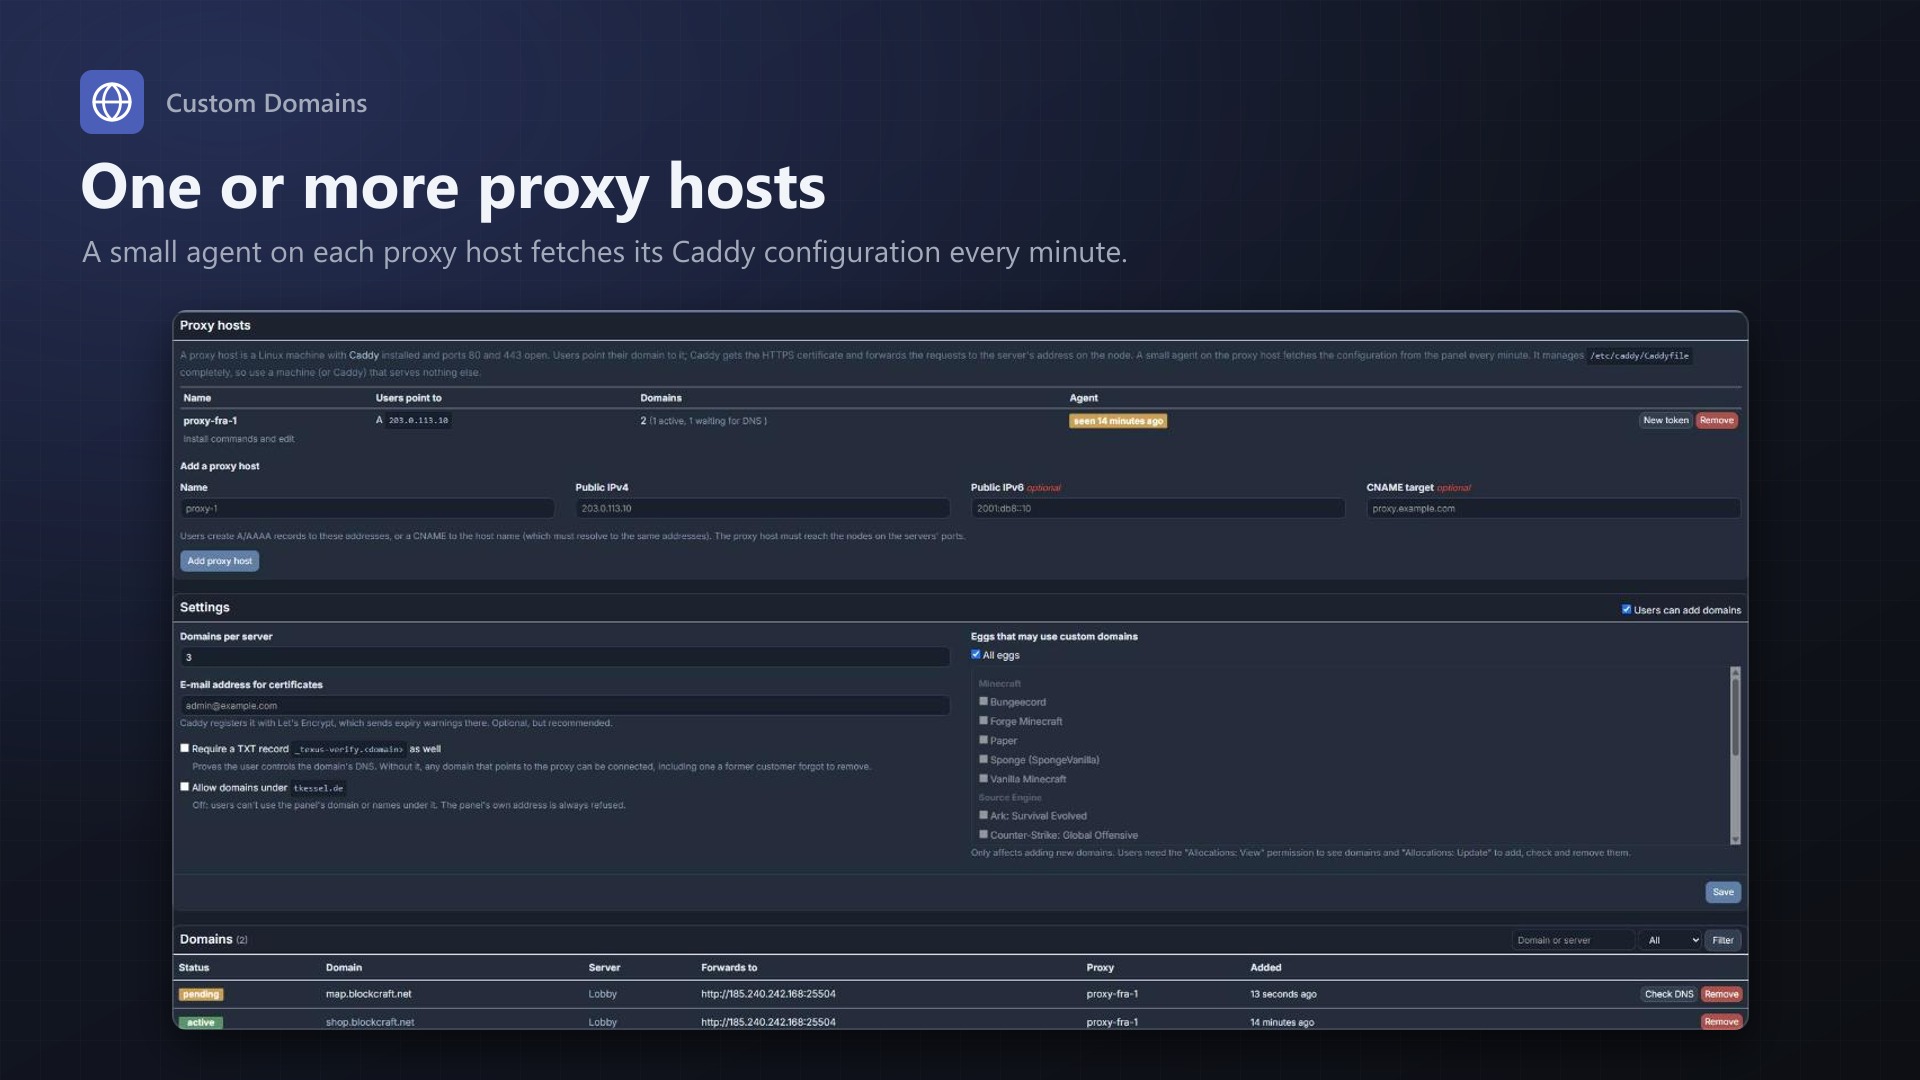
apt install caddy). The package runs Caddy as a systemd service with/etc/caddy/Caddyfile. - Under Admin > Extensions > Custom Domains > Proxy hosts, add the proxy host with its public IPv4, optionally IPv6, and optionally a host name for CNAME records (it must resolve to the same addresses).
- The page shows the agent token once, together with the install commands. Run them on the proxy host. They create
/etc/texusdomains/agent.envwith the panel URL and the token, download the agent fromhttps://<panel>/extensions/texusdomains/texusdomains-agent.shto/usr/local/bin/texusdomains-agent, run it once and add the cron job/etc/cron.d/texusdomains(every minute, log in/var/log/texusdomains-agent.log). - The proxy host shows "seen just now" on the admin page.
The agent manages /etc/caddy/Caddyfile completely and overwrites it. Use a machine, or at least a Caddy, that serves nothing else. The previous file is kept as Caddyfile.texusdomains-backup. If a reload fails, the agent restores the previous file and reports the error.
Lost the token? New token creates another one; the old one stops working right away.
What the Caddyfile looks like
# Custom Domains: configuration for the proxy host "proxy-1".
# Written by the agent from https://panel.example.com. Changes made here are overwritten.

{
	email admin@example.com
}

shop.example.com {
	reverse_proxy 10.0.0.5:8080
}

bot.example.org {
	reverse_proxy node1.example.com:8443 {
		transport http {
			tls
			tls_insecure_skip_verify
		}
	}
}
The target is the allocation's IP and port. When the allocation listens on 0.0.0.0, the node's FQDN is used instead. For HTTPS apps the certificate of the app is not checked, as most use a self-signed one. The config is computed from the database on every request, so a deleted server or a removed address drops out right away.
Settings
- Users can add domains: off stops adding new domains; existing domains keep working.
- Domains per server (default 3, 0 to 50).
- E-mail address for certificates: goes into Caddy's global options for Let's Encrypt. Optional, but recommended.
- Require a TXT record: the user also has to create
_texus-verify.<domain>with a value only they see. This proves they control the domain's DNS, not just that it points to your proxy. Without it, any domain that already points to the proxy can be connected, for example one whose former owner forgot to remove the record. - Allow domains under the panel's domain: off by default. With the panel at
panel.example.com,example.comand everything under it is refused. The panel's own address, node FQDNs and proxy host names are always refused. - Eggs: all eggs, or only the chosen ones. Only affects adding new domains.
Domains list
All domains with server, target, proxy host and status, with a filter. Check DNS runs the check for a pending domain, Remove deletes a domain (logged on the server's activity log).
Hourly job
texusdomains:cleanup removes domains of deleted servers. When a domain's address no longer belongs to the server (removed, or changed by a server transfer), it moves to the server's address with the same port, or is removed when there is none. It also checks pending domains again.
Hostname rules
A full domain name (shop.example.com), lowercase letters, digits and dashes; no IP addresses, no wildcards, no ports or paths. Internationalised names are converted to their xn-- form. Each domain can be connected to one server only.
Limits
- HTTP and HTTPS only (ports 80/443 on the proxy). Game traffic, TCP and UDP are not proxied.
- The proxy host must reach the nodes on the servers' ports. If allocations use private IPs, the proxy needs to be in the same network.
- Certificates come from Let's Encrypt (Caddy's default, with ZeroSSL as fallback); their rate limits apply.
- WebSockets work through Caddy without extra settings.
Requirements
- Pterodactyl Panel 1.15.x
- Blueprint (beta-2026-08 or newer)
- The panel's cron job (
schedule:runevery minute), as Pterodactyl needs it anyway - PHP with DNS lookups (
dns_get_record), which standard installs have - One or more proxy hosts: Debian or Ubuntu with Caddy 2,
curl, cron, root access - A licence key from texus-addons.de, free with your purchase, for one panel
- Outgoing HTTPS from the panel to texus-addons.de
Installation
- Upload
texusdomains.blueprintto/var/www/pterodactyl - Run
blueprint -install texusdomains - Enter the licence key under Admin > Extensions > Custom Domains
- Add a proxy host and run the install commands on it
Changelog
0.1.0
- First release: users connect their own domains to a server's address on a "Domains" page, with the DNS records to create and a DNS check (A/AAAA or CNAME, optional TXT record). Caddy on one or more proxy hosts serves them with automatic HTTPS; a small agent fetches the Caddyfile from the panel every minute, validates it, reloads Caddy and reports back. Admin page with proxy hosts, install commands, settings (eggs, domains per server, TXT verification, certificate e-mail) and all domains. Hourly cleanup of domains of deleted servers and addresses.
- Update notice: when a newer version is out, Admin > Extensions and the licence box on the admin page show it, with what is new. With the optional update helper (set up once as root), the update runs with one click after a backup of the panel files and the database.
Licence and download
One purchase = one licence = one panel. The licence is bound to one panel domain and the server it runs on. Subdomains count separately. You can move the licence at any time in your account.
After buying on sourceXchange or BuiltByBit, sign in here with your email address (BuiltByBit: redeem your activation code). You download the extension with the licence key built in, and every new version from your account.
Questions before buying? Ask on our Discord support server or at support@texus-addons.de.
Related
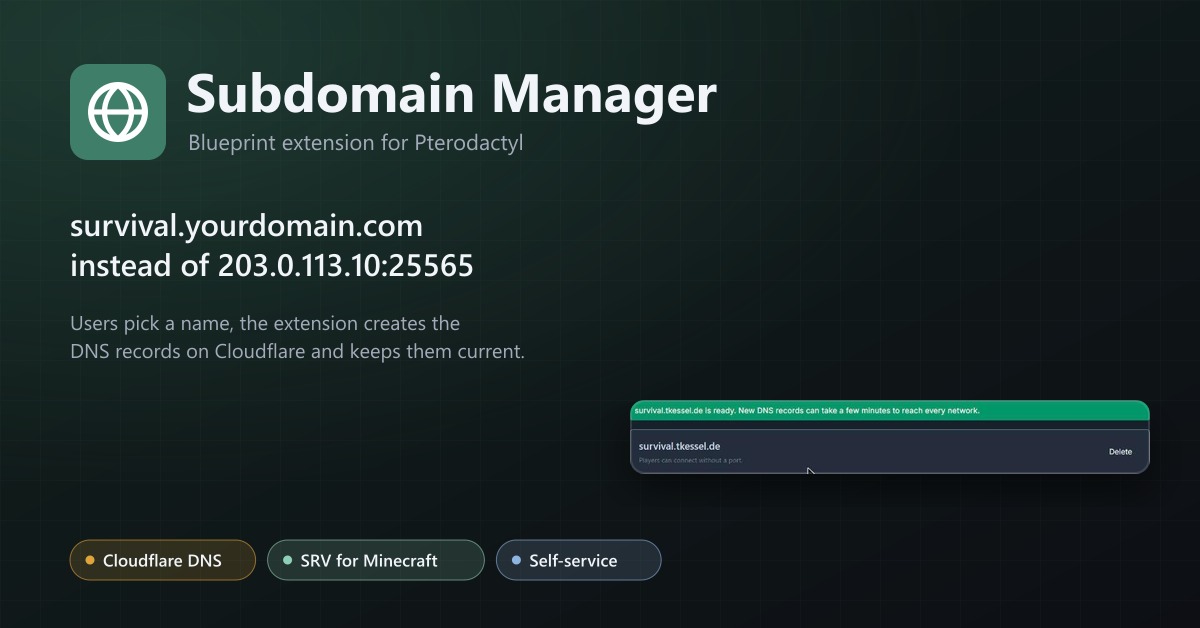
Subdomain Manager
Let users give their servers an address like survival.example.com. DNS records on Cloudflare, with SRV records for Minecraft.
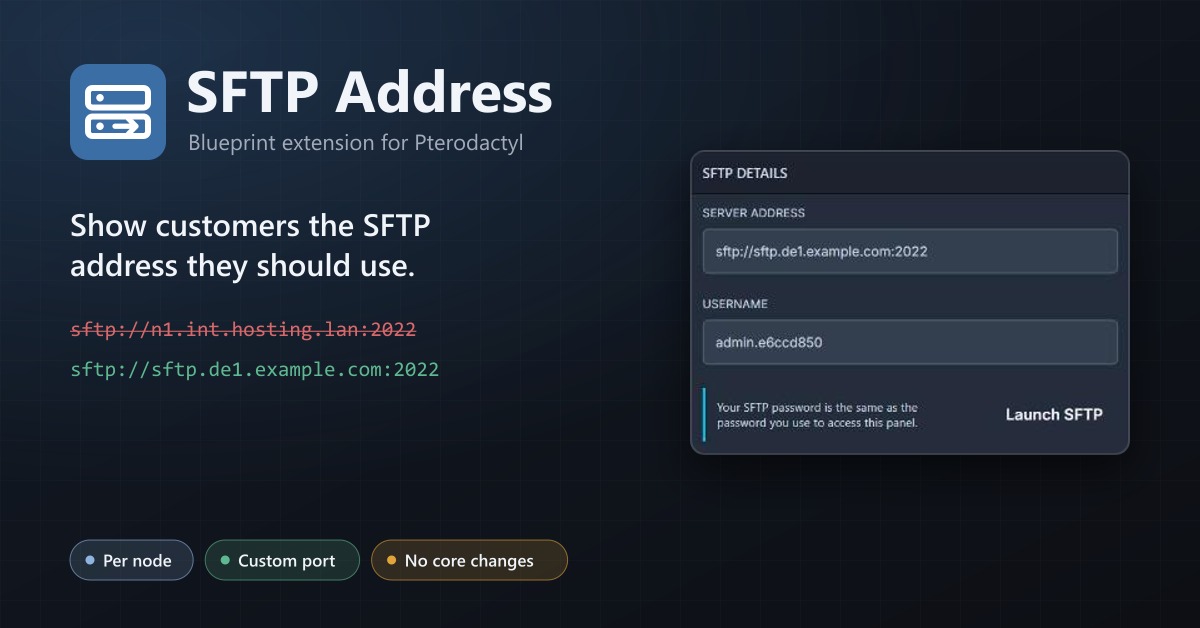
SFTP Address
Show your users a public SFTP address per node, like sftp.de1.example.com, instead of the node's internal address.
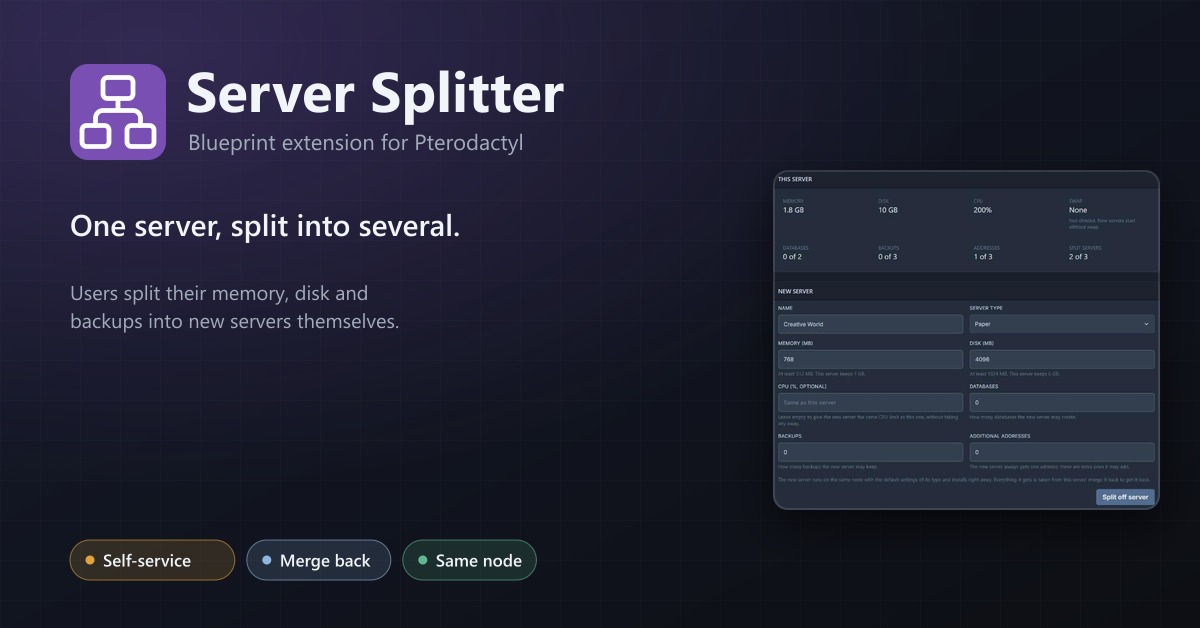
Server Splitter
Users split the resources of their server into several servers and merge them back, without a ticket.